Managing Tests
For extended test coverage and scheduling capability, access configuration options from the IP SLA menu, or right-click on the network device from which the test will be started.
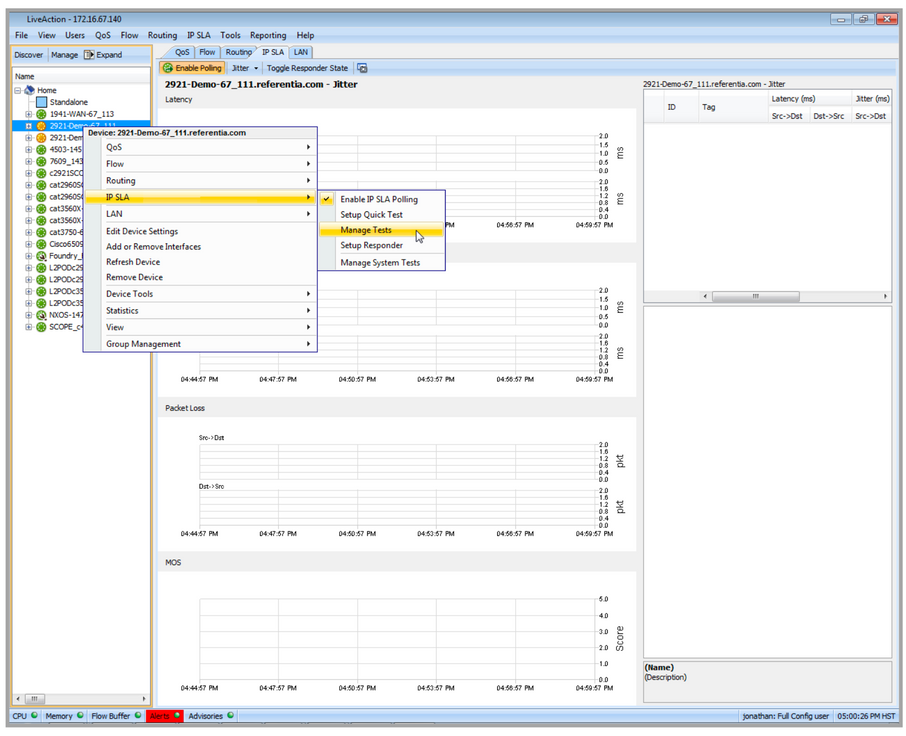
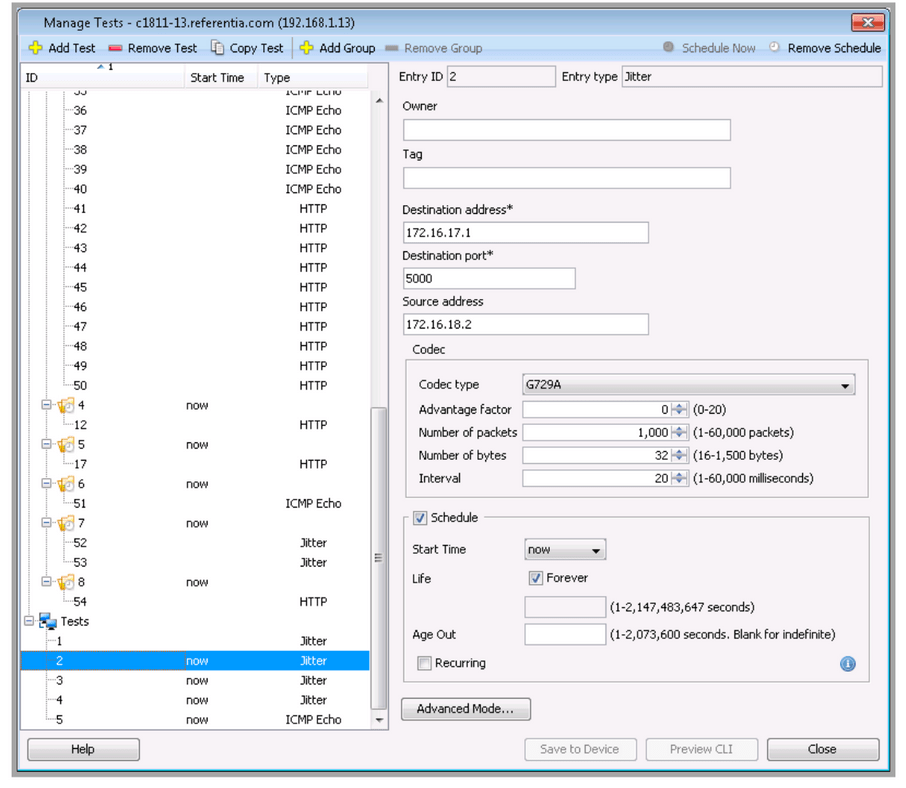
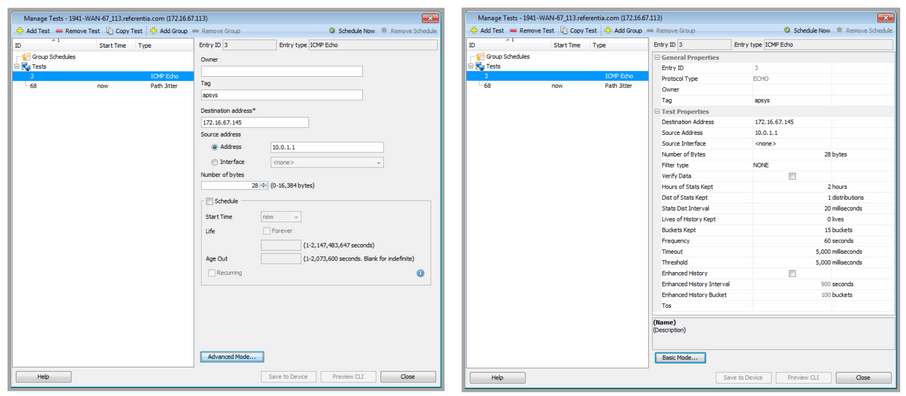
The manage test window allows you to create, delete, copy and group tests. The main window is shown below.
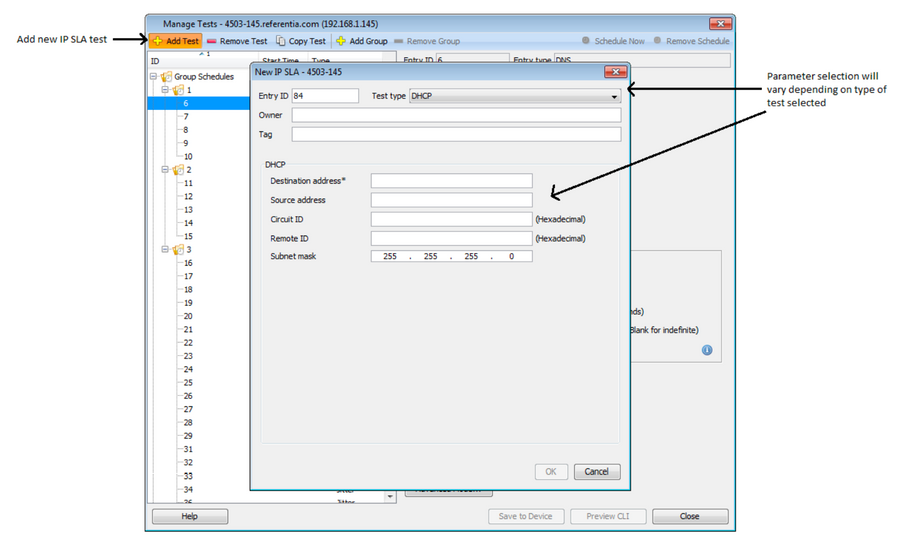
Adding a new test is done by clicking Add Test, which brings up a dialog with basic test parameters.
Once a test is created, it can be edited using either the basic or advanced mode. Click Basic Mode or Advanced Mode to toggle between basic and advanced configuration modes. Parameters edited in one mode will persist in the other mode; validation is also enforced in both modes. In Basic Mode, required fields are denoted with an asterisk (*).
Save to Device and Preview CLI are enabled when changes have been made and all changes are valid. View Errors will be enabled if there are any validation errors. Click View Errors to display a list of all errors.
Refer to the Cisco reference manual for descriptions of all Path Echo configuration parameters.
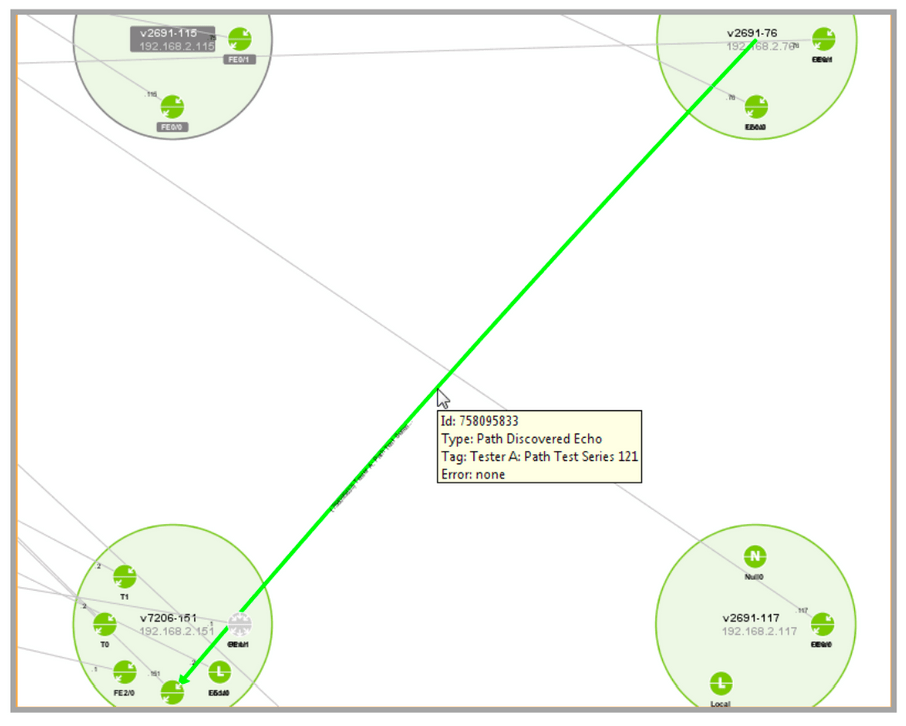
In the system topology view, Path Echo test results are displayed in visual form, delivering rich context for instant understanding. Colored icons indicate operating success or failure status quickly and easily for each test.
